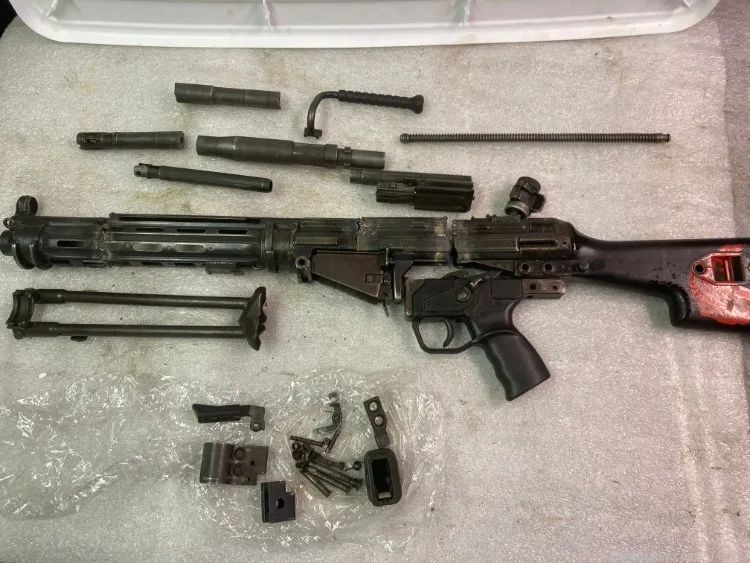
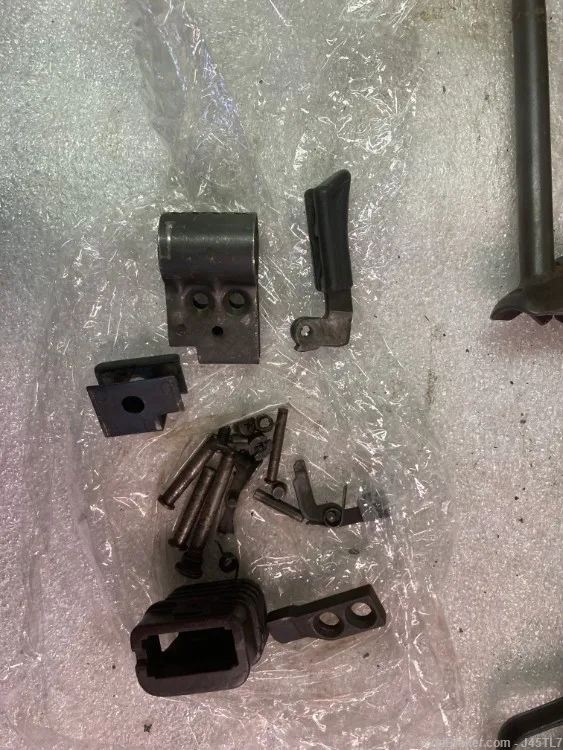
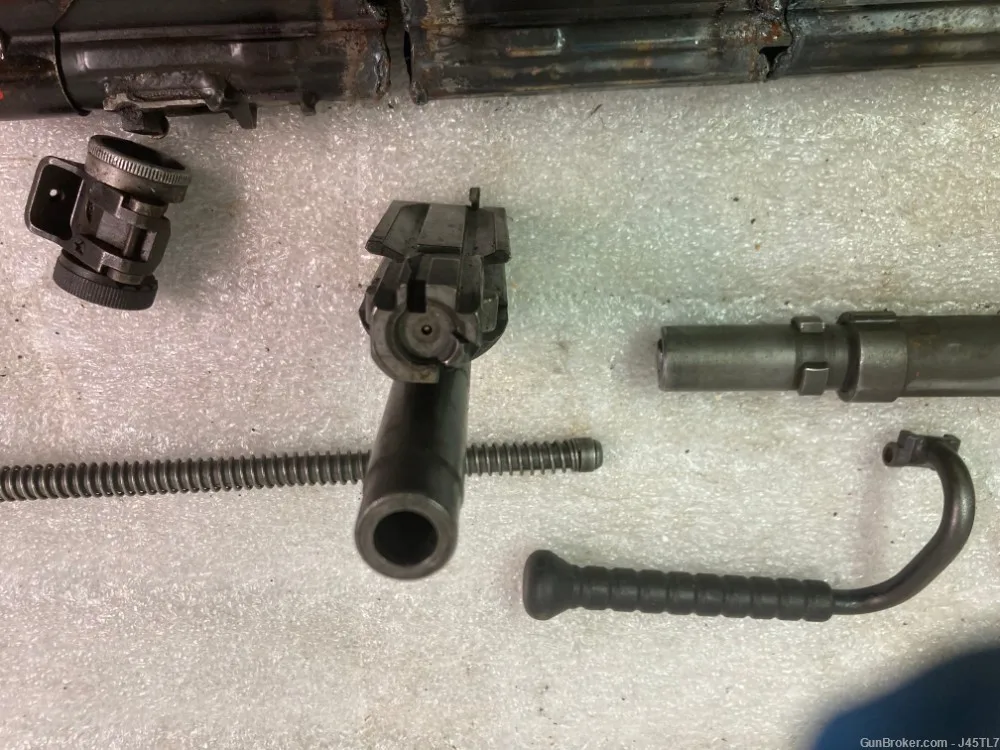
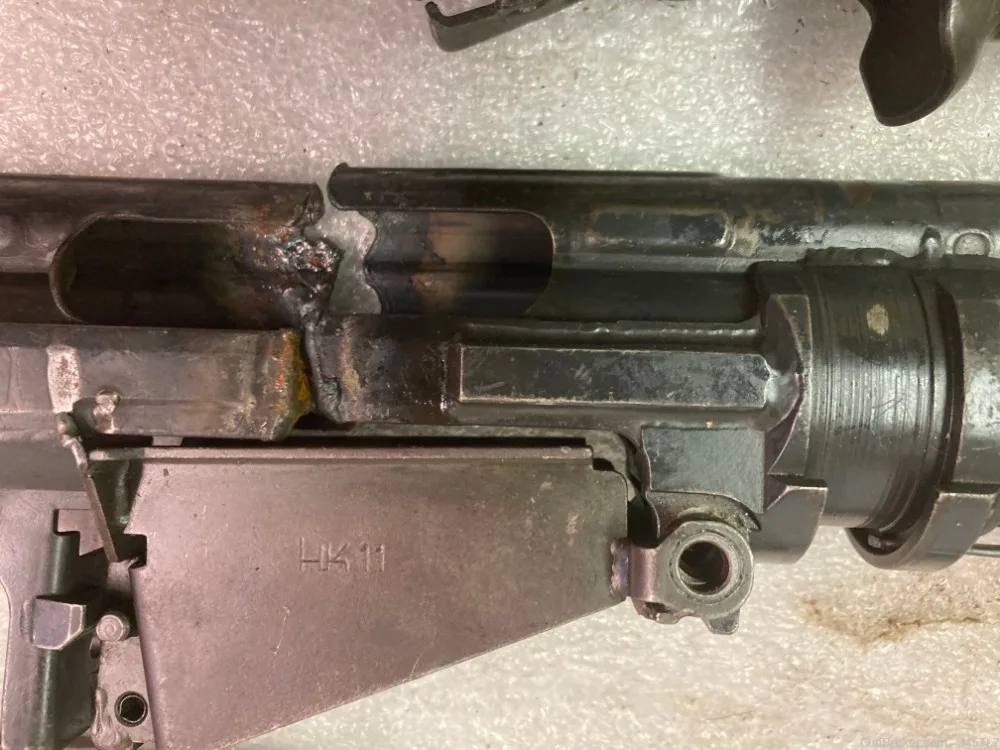
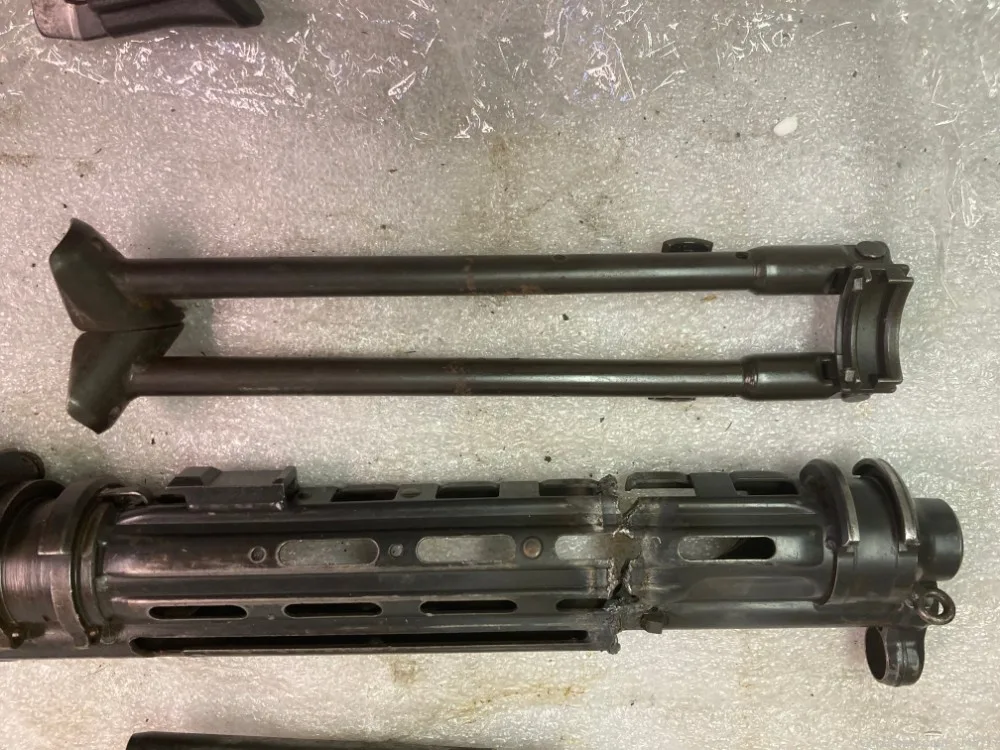
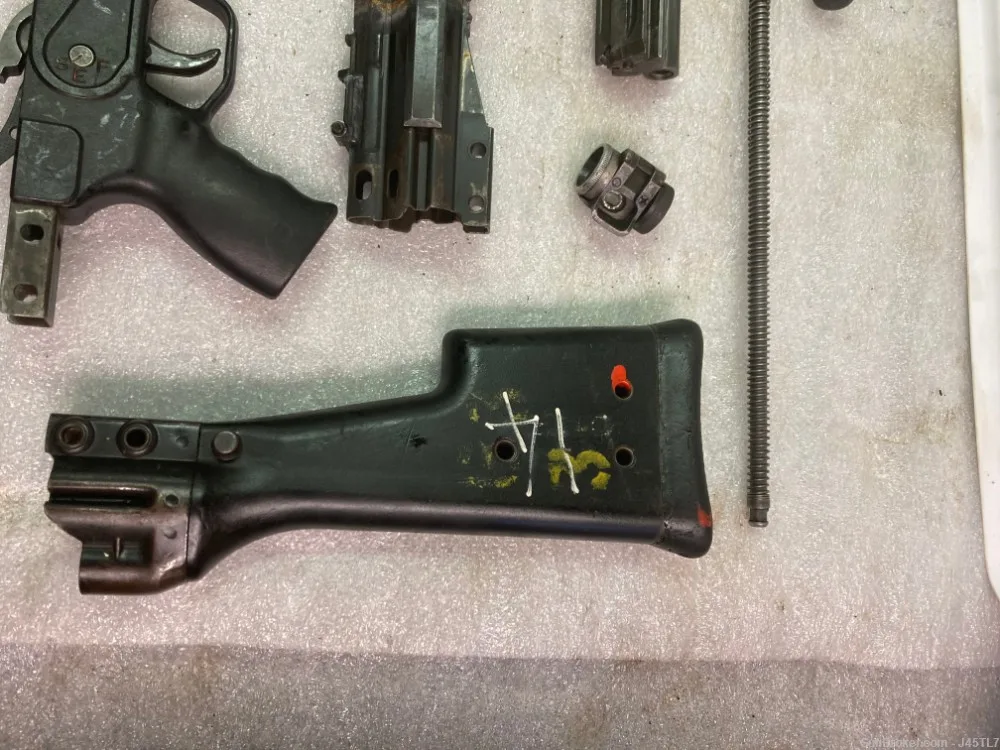
The HK11 and HK21E are renowned for their reliability, precision, and modular design, making them highly sought after in various applications, from military use to civilian sport shooting. A parts kit is an essential element for enthusiasts and gunsmiths alike, allowing for the maintenance, repair, or personalized customization of these iconic firearms.
Understanding the HK11 and HK21E
History and Design Philosophy
The HK11 and HK21E are products of Heckler & Koch (H&K), a German company with a storied history in firearms manufacturing. The HK11 was developed in the late 1960s as a light machine gun designed for versatile use, proving to be effective in various combat scenarios. The HK21E is a more modern iteration that incorporates advancements from the original line. Both models share a similar design philosophy, focusing on reliability, adaptability, and modularity, allowing users to configure firearms according to specific operational needs.
Key Specifications
- Caliber*: Both the HK11 and HK21E are chambered in 7.62x51mm NATO.
- Operation*: Both utilize a gas-operated, roller-delayed blowback mechanism, providing excellent recoil management.
- Rate of Fire*: The cyclic rate of fire for the HK11 is around 800 rounds per minute, while the HK21E maintains that number with slight variations depending on configuration and operating conditions.
- Weight*: The HK11 weighs approximately 10.8 kg (23.8 lbs) with a belt feed, whereas the HK21E is slightly heavier due to its added features and reinforcement.
Components of the HK11 and HK21E Parts Kits
Basic Components
A parts kit for either the HK11 or HK21E typically includes several critical components necessary for building, repairing, or upgrading the firearm. Here are the main elements you can expect in a parts kit:
1. Receiver: The heart of the firearm, housing the trigger mechanism and serving as the connection point for the various components.
2. Barrel: A key component affecting accuracy and performance. The barrel length and profile can vary based on the intended use, whether it’s for standard engagement or tactical applications.
3. Bolt Carrier Group (BCG): Essential for cycling the firearm, it houses the bolt and is responsible for the feeding and extracting of cartridges.
4. Trigger Mechanism: This includes the trigger itself, sear, and associated components. It’s pivotal in ensuring safe and reliable firing.
5. Stock Assembly: Depending on the configuration, this may include adjustable stocks or fixed stocks, which impact the overall length and handling characteristics of the firearm.
Additional Components
- Gas System Components: Essential for regulating the gas flow that operates the action of the weapon.
- Handguards and Heat Shields*: Protects the user from the heat generated during firing and provides mounting space for accessories.
- Mounting Hardware: Includes pins, screws, and any necessary tools for assembly.
- Belt Feed Mechanism/Box Magazine Components: For those looking to configure the firearm for automatic fire, these parts are crucial.
Steps to Fit the HK11 and HK21E Parts Kits
Fitting a parts kit requires careful attention to detail and an understanding of both the components and the assembly process. Here’s a step-by-step guide to fitting the parts in either the HK11 or HK21E.
Step 1: Gather Tools and Secure Your Workspace
Before starting the assembly, ensure you have a clean, well-lit workspace and the necessary tools at hand, including:
– Screwdrivers (flathead and Phillips)
– Wrenches
– Punches
– Hammer
– Torque wrench
– Cleaning cloth
– Safety goggles
Step 2: Assemble the Receiver
1. Prepare the Receiver: Ensure that it is clean and free of debris.
2. Install the Trigger Mechanism: Insert the trigger assembly into the receiver, aligning it with the proper mounting holes. Secure using the appropriate pins and screws.
3. Attach the Bolt Carrier Group (BCG): Position the BCG within the receiver, ensuring that it moves freely along its rails. Fasten down any retaining components as necessary.
Step 3: Fit the Barrel
1. Align the Barrel: Carefully align the barrel with the receiver, ensuring that the gas port aligns properly with the gas tube.
2. Secure the Barrel: Use the proper mounting hardware to secure the barrel into the receiver. Follow the manufacturer’s torque specifications to ensure the barrel is firmly mounted but not overtightened.
Step 4: Install the Stock Assembly
1. Select the Appropriate Stock: Depending on your preference (fixed or adjustable), select the stock that fits your needs.
2. Connect the Stock: Securely attach the stock to the back of the receiver using the allocated screws or pins. Test the stock for stability—there should be no excessive movement.
Step 5: Assemble Additional Components
1. Attach Handguards and Heat Shields: These serve to protect the user and provide mounting space for optical sights or other accessories.
2. Fit Any Extra Components: If the parts kit includes additional components such as the belt feed mechanism or box magazines, follow the respective instructions to integrate these.
Step 6: Final Inspection and Safety Checks
Once all components are in place, conduct a thorough inspection of the assembly. Check for:
– Proper function of the trigger and BCG.
– Secure fit of all components.
– Adjustments on movable parts (stocks, sights) to ensure they work correctly.
Ensure that the firearm is unloaded and perform a function check to verify the assembly.
Final Adjustments
Once fitted, it’s essential to make any necessary adjustments. This may include sight alignment, adjusting the gas system for optimal performance, or fine-tuning the trigger pull weight. Take your time with these adjustments, as they can significantly impact performance and accuracy.
Common Issues and Troubleshooting
Trouble with Fitting
If you encounter issues fitting components, the most common problems include misalignment or the use of incorrect tools for securing parts. Always refer to the manufacturer’s specifications when fitting the kit.
Reliability Issues
If your firearm does not cycle properly, inspect the gas system, ensuring that it is clean and free from obstructions. Additionally, check that the barrel is properly secured and that the BCG is functioning as intended.
Performance Enhancements
Many enthusiasts opt for aftermarket components to enhance performance. Check compatibility before investing in upgrades, as not all parts may work with first-generation kits or non-standard components.
