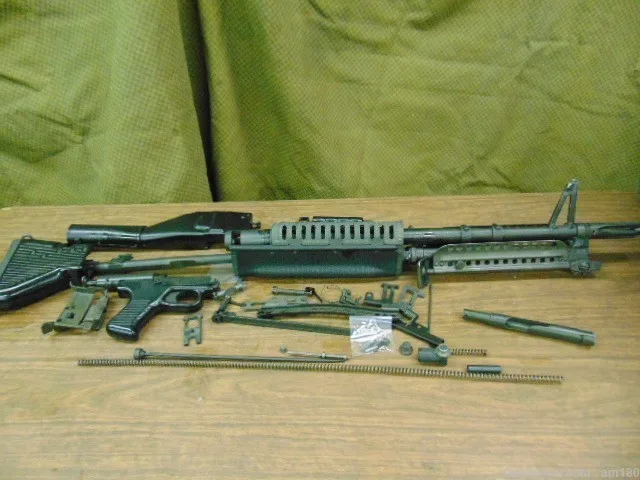
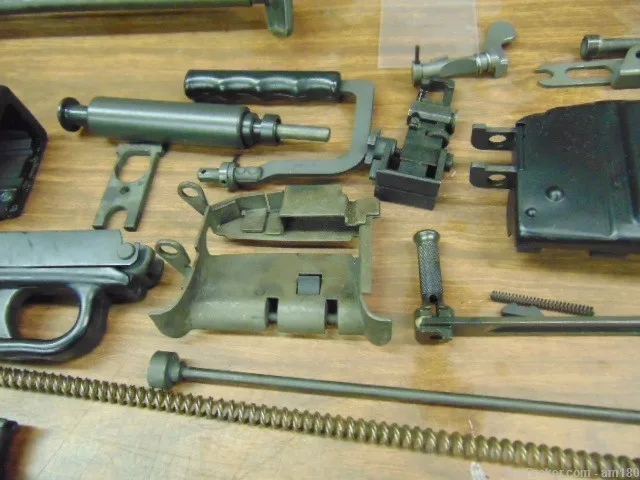
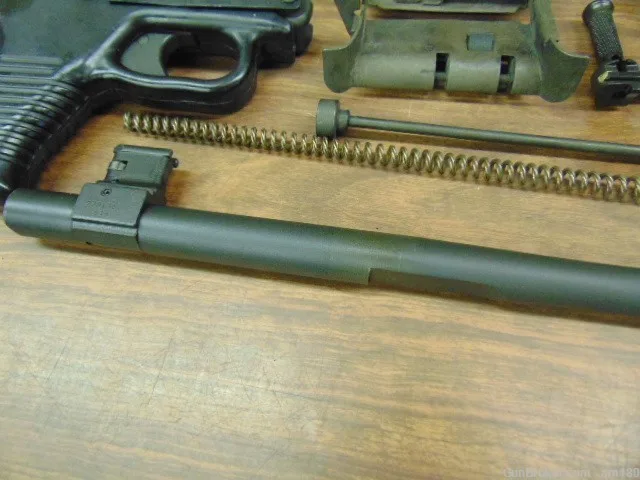
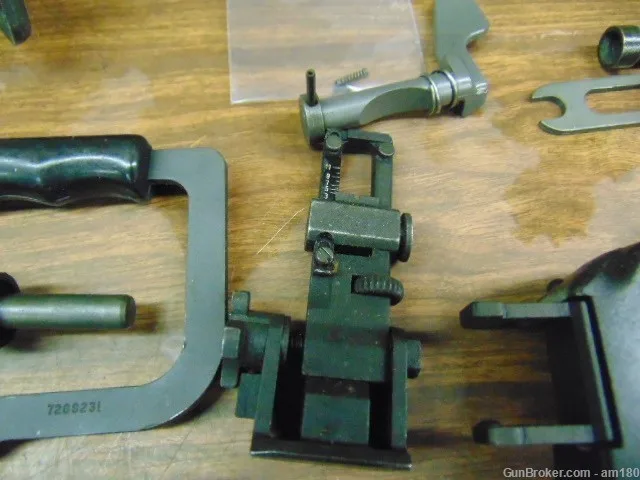
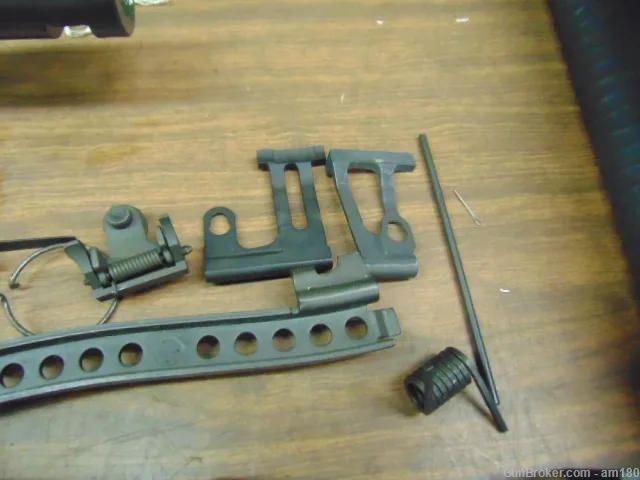
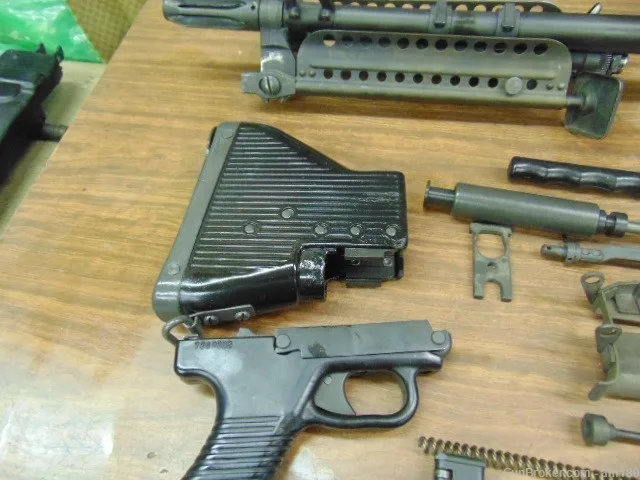
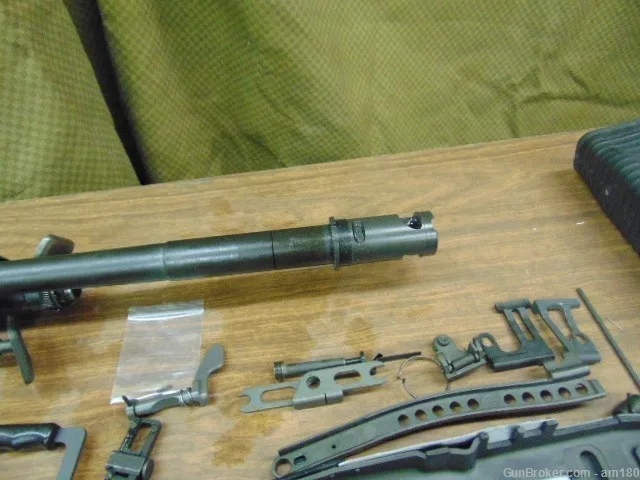
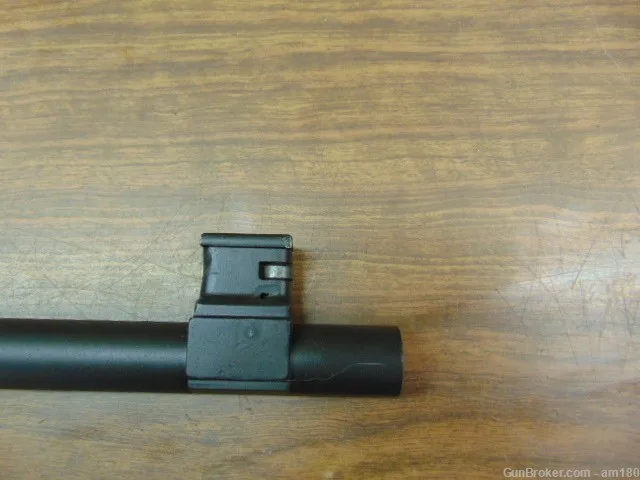
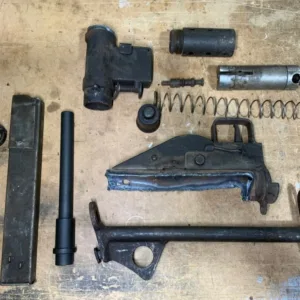
The M60 machine gun, known for its versatility and reliability, has served as a stalwart in various military operations since its introduction. For enthusiasts, collectors, and military veterans alike, M60 parts kits offer an invaluable opportunity to rebuild or restore this iconic firearm, ensuring its legacy continues
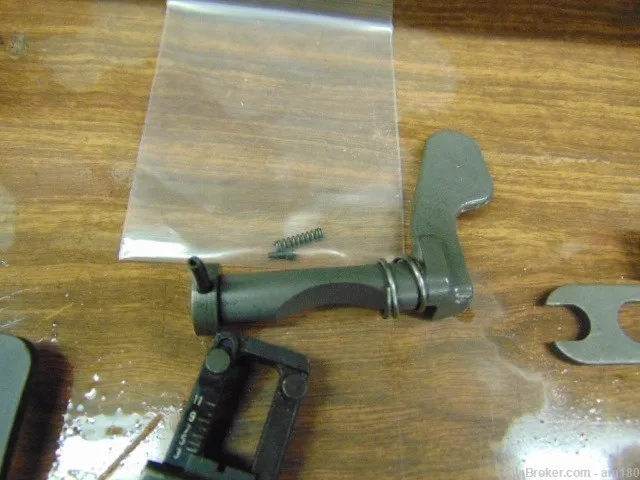
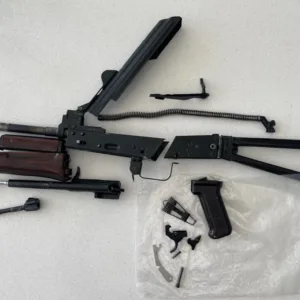
The M60 parts kit typically includes essential components required to assemble a fully operational M60 machine gun. It may consist of a mix of new old stock (NOS), refurbished, and used parts, offering a cost-effective solution for individuals looking to own a piece of military history. Depending on the kit’s inventory, users can find parts such as:
- Receiver: The central component of the M60, housing critical internal mechanisms.
- Barrel Assembly: Comprising the rifled tube where the bullet travels, it can be hot-swapped for sustained fire.
- Bolt & Bolt Carrier Assembly: Integral for chambering rounds and expelling spent casings.
- Feed Tray: Where ammunition belts are loaded into the machine gun.
- Stock and Handguard: Providing stability and handling by the operator.
Assessing the Condition of Parts
- Surface Corrosion: Examine each component for any signs of corrosion, particularly on metal parts. A light surface rust can often be removed, but deep pitting can compromise integrity.
- Moving Parts: Ensure that all moving parts (e.g., the bolt and bolt carrier) operate smoothly without obstruction or excessive wear.
- Thread Integrity: Check threaded parts to ensure they are in good condition and can be torqued properly during assembly.
- Attachment Points: Look at areas where components connect (for example, the stock to the receiver) to ensure they are free from excessive wear and damage, which could affect fit and function.
Tools and Preparation for Fitting the Parts Kit
Before commencing assembly or restoration of the M60 using the parts kit, you must gather necessary tools and prepare adequately. Here’s what you need:
Tools Required
1. Armorer’s Wrench: An essential tool for tightening various components during the assembly.
2. Torque Wrench: To ensure parts are attached securely but not overly tightened.
3. Screwdrivers: Both flathead and Phillips, to handle different screws in the assembly.
4. Pliers and Clamps: To hold parts in place while assembling.
5. Grease and Lubricant: Vital for maintaining smooth operation and longevity after assembly.
Preparation Steps
- Organize Parts: Lay out all components and tools in a well-lit, clean workspace. This prevents misplacement and allows easy access during assembly.
- Manufacturer’s Manual: Refer to any available manufacturer guides or schematics to understand how each part fits together.
- Safety Gear: Wear safety glasses and gloves to protect against any potential injuries during assembly.
Steps to Fit the M60 Parts Kit
With tools gathered and preparations made, you can begin the assembly process. Although the specific instructions may vary slightly based on individual parts kits and conditions of the components, here are general steps to fit the M60 parts kit:
Step 1: Assemble the Receiver
Begin by securing the receiver to a stable work surface. If the receiver is not pre-drilled or fitted with a stock, use the armorer’s wrench to fasten the appropriate components securely.
Step 2: Attach the Barrel
- Slide the barrel assembly into the front of the receiver
- Ensure any locking mechanisms are lined up correctly. Use the armorer’s wrench to tighten it securely.
- Once attached, check the barrel for free rotation and smooth movement.
Step 3: Install the Bolt and Bolt Carrier Assembly
- Insert the bolt into the carrier, ensuring it engages correctly with the locking lugs.
- Slide the entire assembly into the receiver. You may need to compress the return spring while doing this.
- Check the bolt’s movement by pulling the charging handle backward and releasing it to ensure it returns smoothly.
Step 4: Fit the Feed Tray and Belt Holder
- Attach the feed tray to the receiver, ensuring proper alignment with the barrel and bolt assembly.
- Fit the belt holder appropriately, securing using screws if provided in the parts kit.
Step 5: Install the Stock and Handguard
– Attach the stock to the rear of the receiver. Use the torque wrench to tighten securely without overdoing it.
– Fit the handguard around the barrel, ensuring it snaps into place properly.
Step 6: Final Assembly Check
- Go through each part and check that all screws, bolts, and attachments are secure
- Cycle the action several times to ensure proper function and that all moving parts operate seamlessly.
- Inspect for any loose components before considering the assembly complete.
Maintenance Tips for the M60
After successfully assembling your M60 from the parts kit, regular maintenance is crucial for ensuring longevity and performance. Follow these tips for optimal maintenance:
- Regular Cleanings: Taking apart the M60 and cleaning each component regularly helps to prevent the build-up of carbon and debris, which can inhibit functionality. Use a suitable gun cleaner and follow with light lubrication.
- Lubrication: Use high-quality lubricant on moving parts, such as the bolt and carrier, to prevent wear and tear.
- Inspection: Regularly inspect all parts for wear, particularly after heavy usage. Pay close attention to the barrel and bolt assembly, as these are critical to the functionality of the firearm.
- Storage: When not in use, store the M60 in a cool, dry place, either in a protective case or with appropriate gun storage solutions to prevent rust or damage.
